
 Can you spy the wall gunk? Whoops. Plus the entire shot has a yellow tinge & the shadow is weird.
 Moved the items away from the wall gunk but the wall color is just not working. Plus, you can see the line between the wall and the platform I have the cards on.
 The best shot - still not great, though.
Somehow I meandered across this link (probably found it on Google search) that pretty much had the answer to all of my questions (it's a bit long - may want to jump to it at the end of this):
HOW TO – Take great photos of your projects – The Adafruit Photo Tutorial by Johngineer
Don't let it overwhelm you if you're not the super technical type. It provides great information about how to make the pictures of your products SHINE and depending on how super-gadgety you are it shows the steps to build the permanent cyclorama. I, being the random and usually haphazard personality that I am, did this on a SUPER SIMPLIFIED scale. I had greeting cards made & decided it was time to take photos of them in the manner they deserved. I didn't have a lot of time, so I went with the super simplified version. KISS method anyone?

I went to my mom's house with some supplies (camera, cards, & white poster board) and took over her office/storage room. I knew my dad had some lights with clamps in the garage, so I commandeered those for my own use. I had no idea what bulbs they had or what would work - so I just experimented. He had one light with a metal hood while the other was white. The bulbs inside were white and clear. So, I took a wild guess and figured the white hood with the clear bulb would work - I was wrong. Everything was super yellow. Anyhow, I digress.
First thing I did was find something to clip the light to - back of a rocking chair worked for me. Then, I created a platform with a stack of stuff - whatever I could find - that was high enough for the light. I then taped the white poster board to the wall & then to the stack of stuff, allowing it to curve nicely from the wall down to the platform.
Then, I created another stack of stuff in between the chair and the poster board to set the camera on. Yeah, I know if I had just had more patience and did this at my own work station at home this "multiple stacks of stuff" thing would have been greatly reduced, but I made do with what I had. Once the platform for the camera was the right height, I took the pictures with my hands going through the rocking chair slats. Again, not the easy route but it worked.
As I said before, the white hood on the lamp with the clear bulb had very yellow tinge to it, so I traded it for the metal hood with the clear bulb. Much better!
Results? With some cropping and a small bit of post-processing (cooled the tone down), this is what I got:
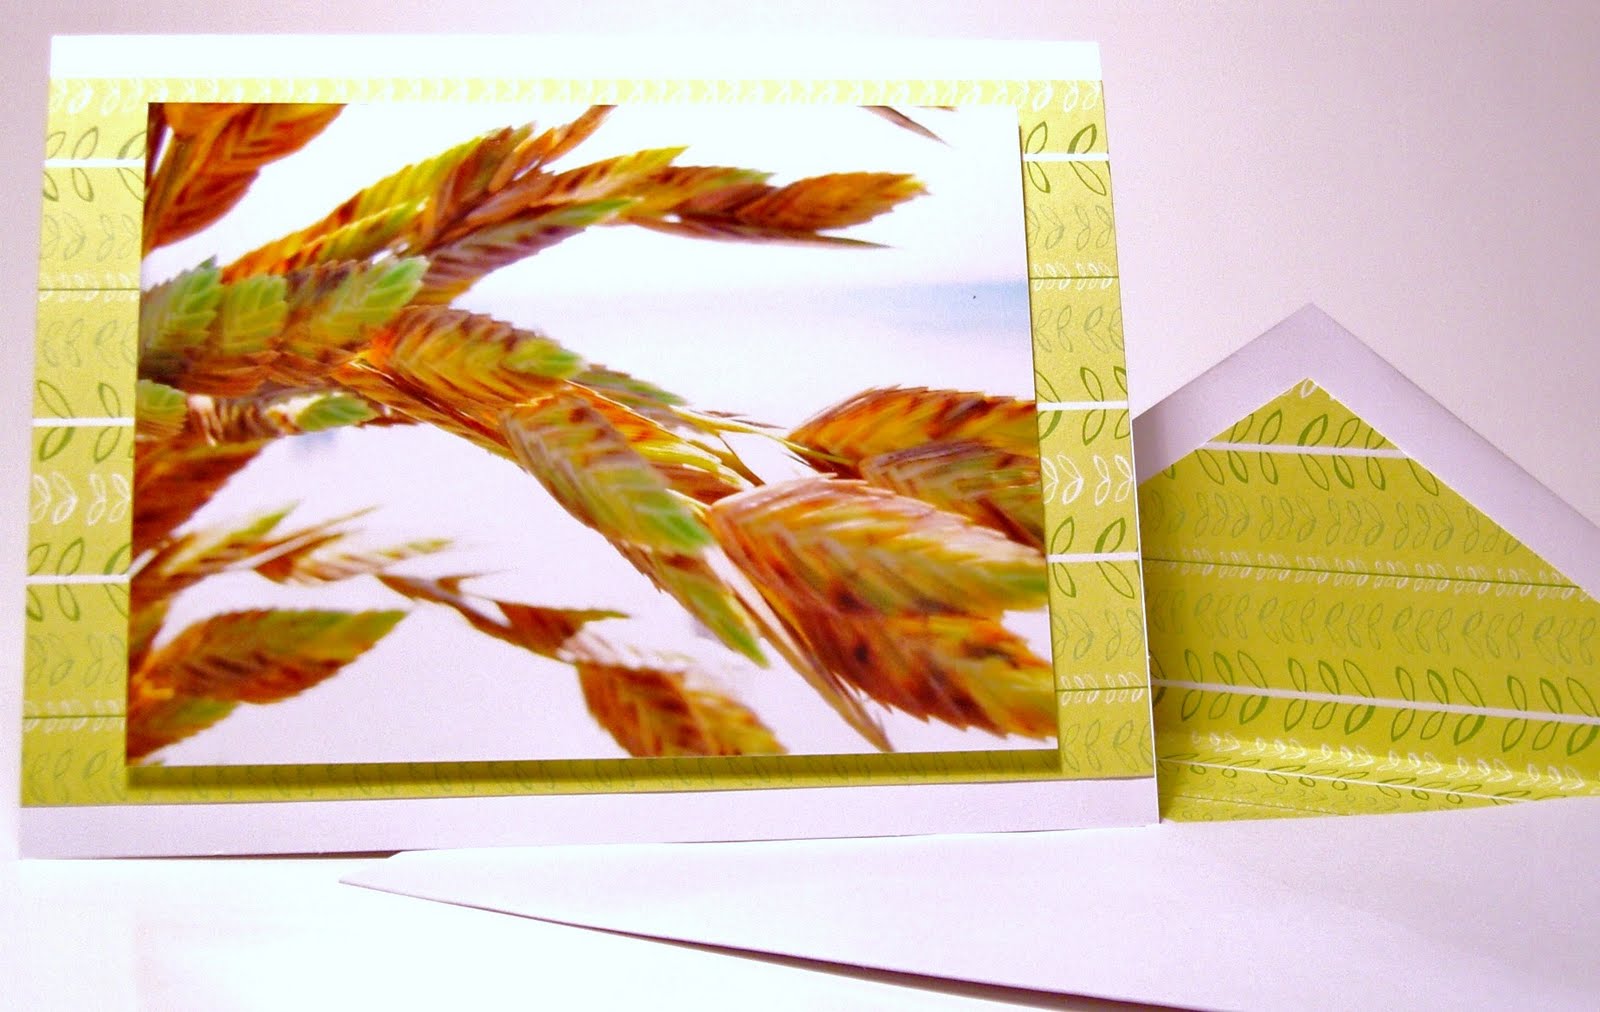
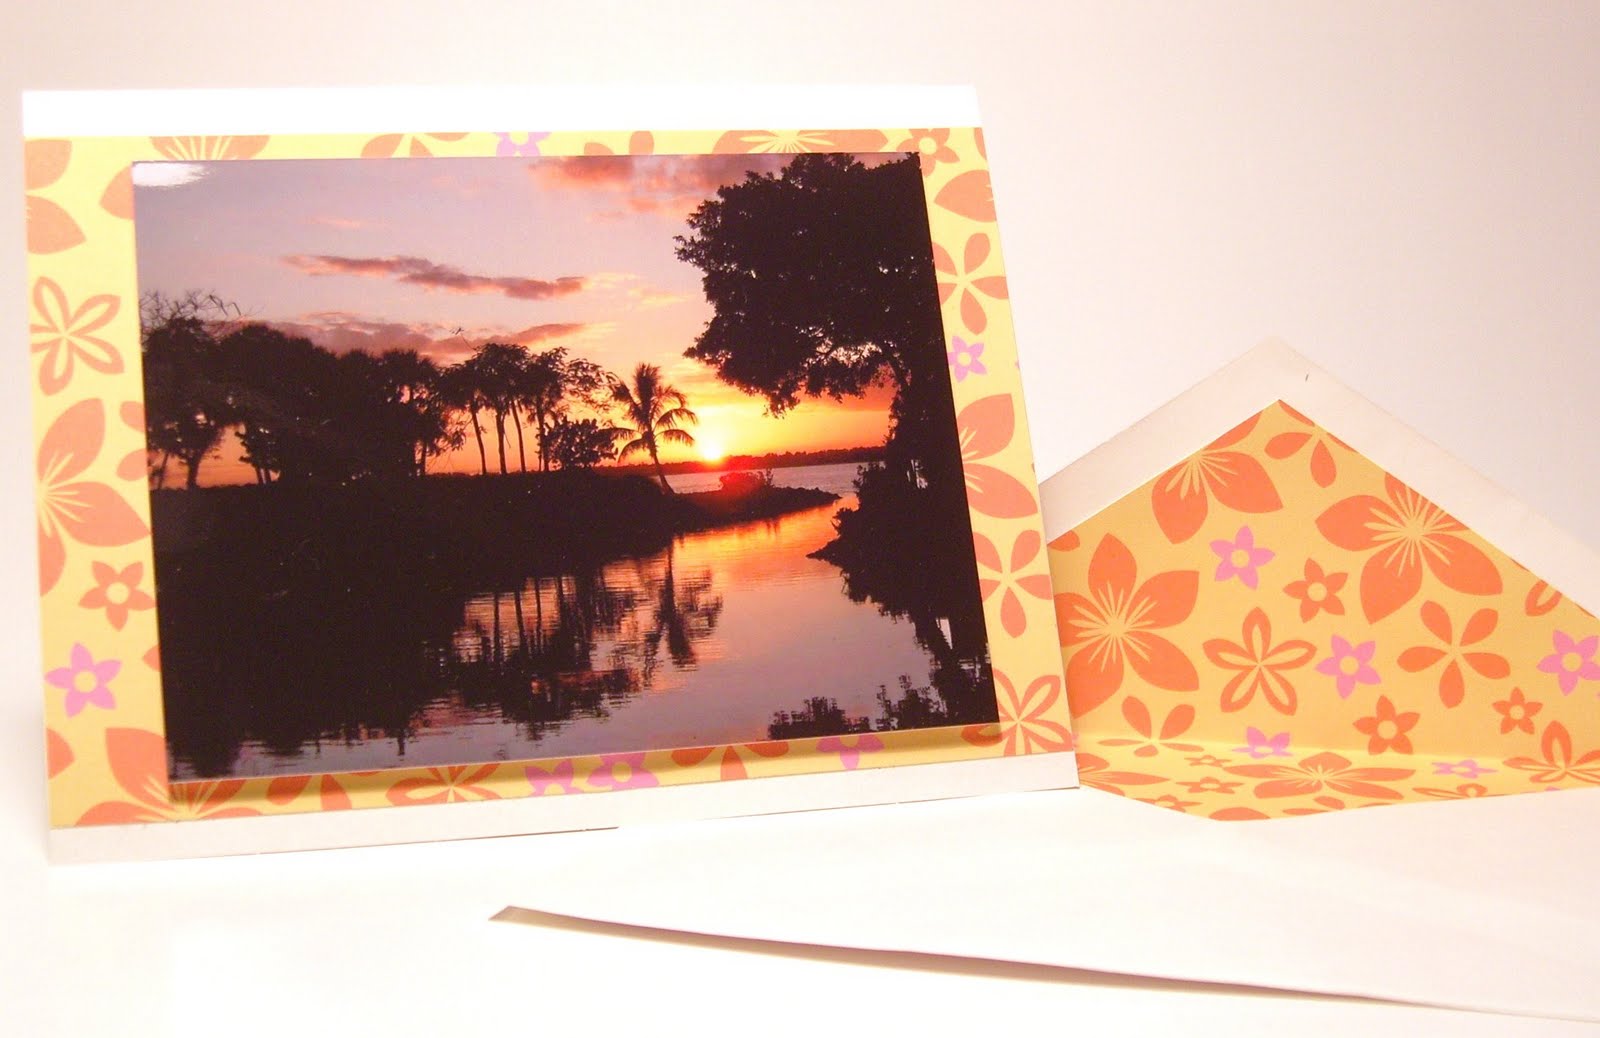
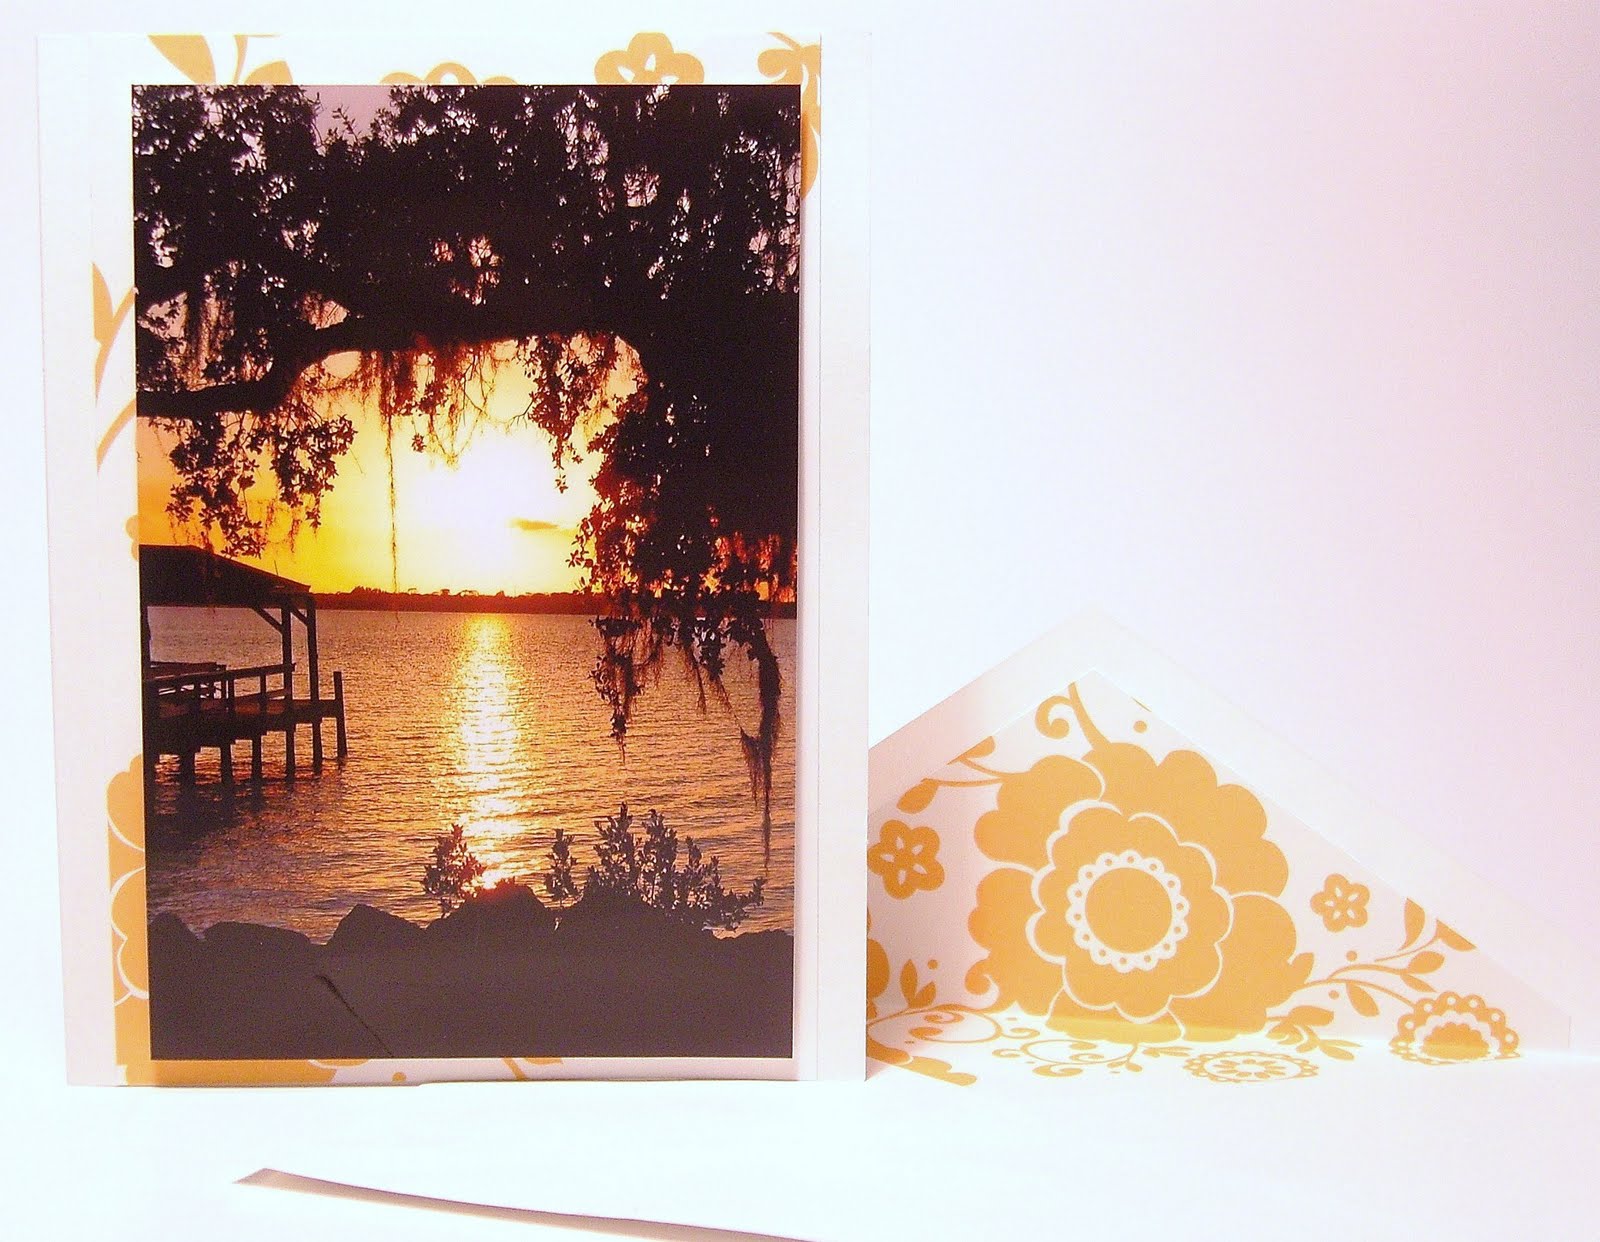


It's not quite perfect and I still have yet to build this at my normal workstation, but I hope you realize it does not take a technical genius to get the product photos you need. I plan on using different colored poster board next time as I feel the white board and white cards blend too much. Will keep you posted on the results.
Maybe some of you have your own tips/tricks? Let me know.
I hope this helps!