I can't believe it's Wednesday already? I love long weekends (Monday was Labor Day here in America), so Wednesday just rushed right at me. Here's my top faves for this week and I did it again - it's not just ten but instead ELEVEN goodies for everyone to see. I just couldn't resist.
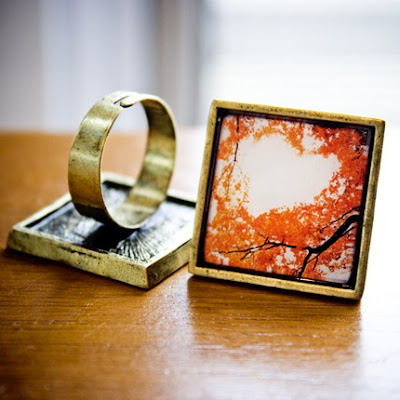 Tree Heart Autumn Sunshine Photo Art Ring by Nomadic Notebook Photography
 Tree Heart Autumn Sunshine Photo Art Ring by Nomadic Notebook Photography
What a great way to feature photography and personalize it in such a manner that you can take your art wherever you go. This would be a great conversation piece when worn out and also give you a chance to look at something gorgeous, no matter where you are in your day.
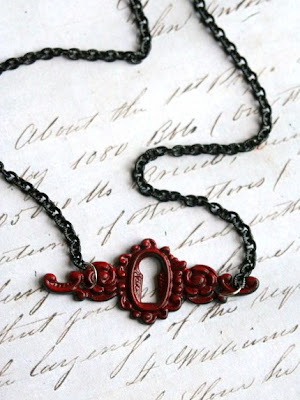
I love how this is photographed and the necklace itself is really pretty. I love the deep red with the black of the chain. Necklaces with keys on them is a pretty popular trend right now, so to do the reverse and wear the lock instead of the key is a wonderful take on the trend.
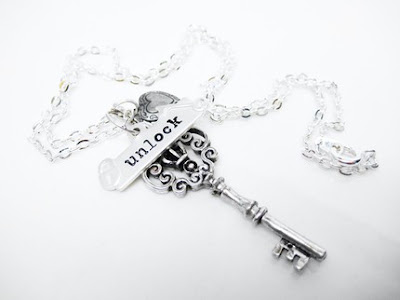 Silver Skeleton Key Heart Locket by Priscilla's Jewelry
Want a key for that lock? Look no further. This is is gorgeously done and if you take a look at her listing, you also can see the heart in the necklace opens up as a locket!
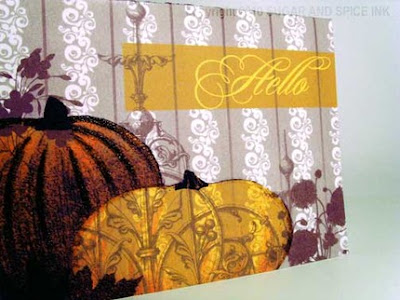 Embossed Note Card Autumn Harvest Collection by Sugar & Spice Ink
Greetings from Autumn! Know anyone else who loves the Fall season? Send this along to warm their hearts and remind them the best time is just around the corner.
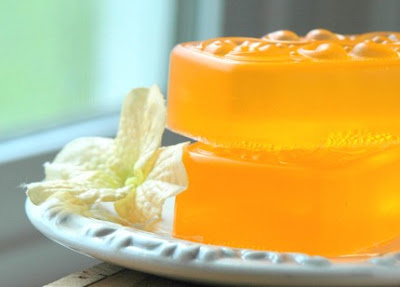 Orange Blossom Flirty Olive Oil Soap by Dancing Mooney
Unfortunately, my skin has changed a lot in recent years and I went from being prone to oiliness to super super dry (even somehow in the FL humidity - AARGH!), so I am always keeping an eye out for wonderful handmade soap. This is made without any of the usual chemicals the soaps in grocery stores have plus a wonderful scent to appeal. The olive oil in it would do wonders for my skin!
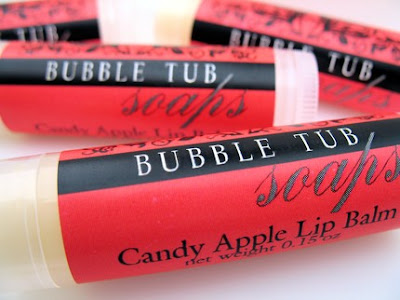 Candy Apple Lip Balm by Bubble Tub Soaps
Going back to the dry skin thing, with the sunshine in FL my lips are always dry as well. Again, this product does not contain all the usual drying ingredients like normal store-bought lip balm and is actually GOOD for your lips. What a concept, right? And, it's apple. You know you wanna try it!
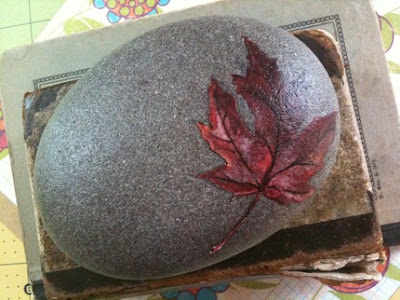 Personalized River Rock Forest Stones by Fern Blossom Studio
Not only can you keep this beautiful red leaf for years to come but you can also have this stone personalized with a name, date, etc. I love this on its own without the personalization but it would be such a beautiful gift. It is part of a series, so you should check the others out as well.
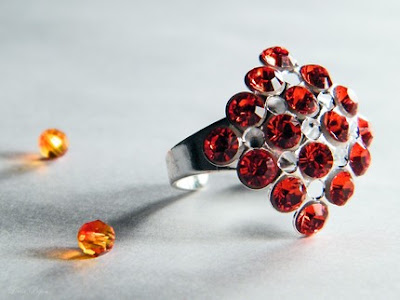 Fire Ring Swarovski Crystal by Leela Bijou
We don't get much of a Fall season here in Florida, so I think sometimes I try and make up for that with my favorite color combo being red, orange, and yellow. This ring more than satisfies the red need but the photo of it with the orange beads is divine.
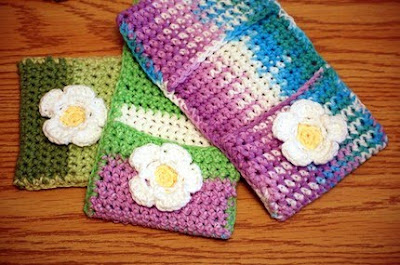 Reusable Swiffer Cloths Set by Sassmowth Designs
Being "green" is a recent subject that has become near and dear to my heart. I am still very much a newbie, so when I find things like this that seem so amazingly obviously simple, it's a great day!
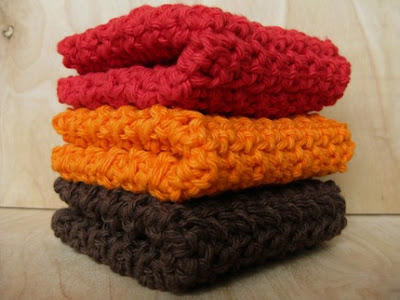 Kitchen Dishcloths by Cocoa Beans
I saw these on the front page of Etsy and the colors are what drew me in. How rewarding was it to then read the description and find that these crochet dishcloths are great for scrubbing dishes, machine washable, AND dryable. Looking for green kitchen options? This is a great idea!
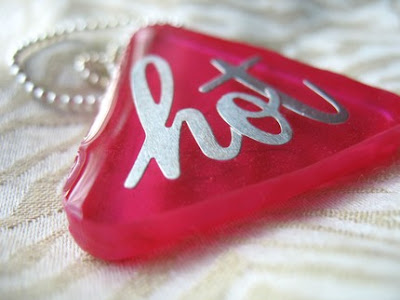
Just in case anyone who sees you needs to be reminded, this necklace says it all.
Looking back at the list, I apparently leaned pretty heavy towards red & fall colors. It's probably all of the gorgeous Fall-themed treasuries being featured on Etsy lately.
Enjoy your Wednesday!!
Looking back at the list, I apparently leaned pretty heavy towards red & fall colors. It's probably all of the gorgeous Fall-themed treasuries being featured on Etsy lately.
Enjoy your Wednesday!!